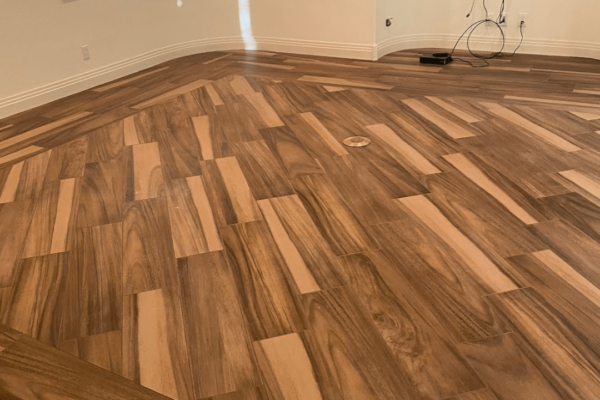
Rigid vinyl flooring is quickly becoming a favorite among homeowners seeking a blend of style and functionality. Also known as Stone Plastic Composite (SPC) or Wood Plastic Composite (WPC) flooring, this type of flooring boasts impressive features that span from exceptional durability to water resistance. Not only does it offer practical advantages, but it also presents a variety of aesthetic options suitable for every taste. This article will provide you with an in-depth look at the benefits of rigid vinyl flooring and some essential tips on how to install it effectively.
Unpacking the Benefits of Rigid Vinyl Flooring
Superior Durability
One of the most significant advantages of rigid vinyl flooring lies in its robustness. Engineered with a dense composite core, these floors are capable of withstanding heavy foot traffic, impacts, and scratches, making them ideal for bustling households and commercial spaces alike.
Moisture Resistance
Unlike traditional wood or laminate that can warp or swell when exposed to water, rigid vinyl flooring maintains its integrity even in moisture-prone areas. This feature makes it an excellent choice for kitchens, bathrooms, and laundry rooms, where spills and humidity are common.
Low Maintenance

Rigid vinyl flooring is easy to clean and maintain, requiring only regular sweeping and occasional mopping with a mild cleaning solution. Its resistance to stains and debris makes it an excellent option for those who prefer a low-maintenance flooring solution.
Variety of Design Options
With advancements in printing and embossing technologies, rigid vinyl flooring can mimic the look of natural materials such as hardwood, stone, and tile with remarkable accuracy. It offers a spectrum of colors, patterns, and textures that can elevate the décor of any room without the high cost of natural materials.
Installation Tips for Rigid Vinyl Flooring
Preparing the Subfloor
Before laying down your new flooring, ensure that the subfloor is smooth, clean, and completely dry. Any bumps or holes should be filled, and the surface leveled. Proper subfloor preparation is crucial for a successful installation and the longevity of your flooring.
Measuring and Cutting
Measure the room accurately and plan your layout carefully to minimize waste and ensure a symmetrical appearance. When cutting the planks to fit, use a sharp utility knife or a fine-toothed saw to get clean, straight cuts.
Installing the Planks
Most rigid vinyl flooring options are designed with a click-lock system that makes the installation process straightforward. Begin at one corner of the room and work your way across, carefully aligning and locking each plank into place without gaps. Repeatedly check your alignment as you progress, using a rubber mallet gently to secure the planks as necessary.
Expansion Gaps
Even though rigid vinyl is less prone to expansion compared to other materials, it’s still important to leave small gaps around the edges of the flooring to accommodate any potential expansion. These gaps can be covered with baseboards or molding for a clean finish.
Acclimation
Allow the flooring to acclimate to the room’s temperature and humidity by leaving it in the room where it will be installed for at least 48 hours before beginning the installation. This step helps to prevent warping or buckling post-installation.
Wrapping Up
Rigid vinyl flooring is an excellent choice for almost any room in your home, offering the perfect balance of durability, aesthetic appeal, and ease of maintenance. Whether you are renovating an old property or moving into a new home, consider incorporating this versatile and robust flooring option. Follow these installation tips to ensure a smooth, hassle-free installation that results in a beautiful and long-lasting floor.

